GDB调试QTest
2022.04.24
V1NKe
热度
℃
Debug QTest with GDB upstream上报漏洞一般会以命令行加QTest的形式发送,例如:
1
2
3
4
5
6
7
8
9
10
11
12
13
cat << EOF | ./qemu-system-i386 -display none -machine accel=qtest, -m \ 512M -machine q35 -device virtio-blk,drive=disk0 -drive \ file=null-co://,id=disk0,if =none,format=raw -qtest /dev/null -qtest \ stdio outl 0xcf8 0x8000181f outl 0xcfc 0x0a000000 outl 0xcf8 0x80001804 outl 0xcfc 0x03 outl 0xcf8 0x8000180e outl 0xcfc 0xff800000 outl 0xff85 0xa1000000 outl 0xff8f 0x00 EOF
这种情况下QEMU以QTest通信,不需要起完整的操作系统即可测试QEMU的代码。
那么,怎么调试?
生成文件 scripts/oss-fuzz目录下面提供了fuzz相关的一些脚本,output_reproducer.py文件用于输出复现文件。
先把上面提到的命令行中的in/out/read/write指令提取出来:
1 2 3 4 5 6 7 8 9 outl 0xcf8 0x8000181f outl 0xcfc 0x0a000000 outl 0xcf8 0x80001804 outl 0xcfc 0x03 outl 0xcf8 0x8000180e outl 0xcfc 0xff800000 outl 0xff85 0xa1000000 outl 0xff8f 0x00
运行脚本:
1 QEMU_PATH=./qemu-system-x86_64 QEMU_ARGS="-display none -machine accel=qtest, -m 512M -machine q35 -device virtio-blk,drive=disk0 -drive file=null-co://,id=disk0,if=none,format=raw -qtest /dev/null -qtest stdio" ./scripts/oss-fuzz/output_reproducer.py -owner "v1nke" -name "blk_test" < /tmp/test
会产出相应的测试代码:
1 2 3 4 5 6 7 8 9 10 11 12 13 14 15 16 17 18 19 20 21 22 23 24 25 26 27 28 29 30 31 32 33 34 35 36 37 38 39 40 41 42 43 44 45 46 47 48 49 50 51 52 #include "qemu/osdep.h" #include "libqos/libqtest.h" static void blk_test (void ) QTestState *s = qtest_init("-m 512M -machine q35 -device virtio-blk,drive=disk0 -drive file=null-co://,id=disk0,if=none,format=raw" ); qtest_outl(s, 0xcf8 , 0x8000181f ); qtest_outl(s, 0xcfc , 0x0a000000 ); qtest_outl(s, 0xcf8 , 0x80001804 ); qtest_outl(s, 0xcfc , 0x03 ); qtest_outl(s, 0xcf8 , 0x8000180e ); qtest_outl(s, 0xcfc , 0xff800000 ); qtest_outl(s, 0xff85 , 0xa1000000 ); qtest_outl(s, 0xff8f , 0x00 ); qtest_quit(s); }int main (int argc, char **argv) const char *arch = qtest_get_arch(); g_test_init(&argc, &argv, NULL ); if (strcmp (arch, "x86_64" ) == 0 ) { qtest_add_func("fuzz/blk_test" ,blk_test); } return g_test_run(); }
这里需要注意的是,不要添加-qtest /dev/null、-qtest stdio这种参数,会导致测试执行失败。 因为测试会用到qtest。这里用–verbose参数查看一下即可:
1
2
3
4
☁ build_qemu [master] ⚡ QTEST_QEMU_BINARY=./qemu-system-x86_64 ./tests/qtest/blk_test --verbose GTest: random seed: R02S5935c23c615f9c7b5fbe4bd16633a1ed GTest: run: /x86_64/fuzz/test_fuzz (MSG: starting QEMU: exec ./qemu-system-x86_64 -qtest unix:/tmp/qtest-6512.sock -qtest-log /dev/null -chardev socket,path=/tmp/qtest-6512.qmp,id=char0 -mon chardev=char0,mode=control -display none -m 512M -machine q35 -device virtio-blk,drive=disk0 -drive file=null-co://,id=disk0,if =none,format=raw -accel qtest)
可以看到参数中加了-qtest unix:/tmp/qtest-6512.sock,因此会用到qtest通信,不要添加-qtest /dev/null这种参数,会导致qtest失效。
把测试代码添加到test/qtest下,命名为blk_test,修改meson.build:
1
2
3
4
5
6
7
8
9
10
11
12
13
14
diff --git a/tests/qtest/meson.build b/tests/qtest/meson.build index d25f82bb5a..cd37b28caa 100644 @@ -91,7 +91,8 @@ qtests_i386 = \ 'migration-test', 'test-x86-cpuid-compat', 'numa-test', - 'test-filter-redirector' + 'test-filter-redirector', + 'blk_test' ] if dbus_display
重新编译后,即可得到blk_test二进制文件。
调试test测试文件 普通执行,–verbose会显示更多信息,还有其他的qtest参数:
QTEST_QEMU_BINARY: This is the command that gets issued when starting QEMU. This is useful since we can add onto it if we would like to run QEMU within another command (like a debugger).
./tests/qtest/blk_test –verbose :This is the actual QTest which will get executed. Inside this test it will launch QEMU.
1 QTEST_QEMU_BINARY=./qemu-system-x86_64 ./tests/qtest/blk_test --verbose
调试方法:
1 QTEST_QEMU_BINARY=./qemu-system-x86_64 gdb --args ./tests/qtest/blk_test --verbose
后续可以在gdb中对blk_test.c文件下断点。
调试QEMU(通过测试文件) 新建一个tmux窗口,执行,tmux中分屏执行:
1 QTEST_QEMU_BINARY="tmux splitw -h gdb -q --args ./qemu-system-x86_64" ./tests/qtest/blk_test
也可以用xterm,不过我嫌弃太难看了,自己整了tmux的代替了:
1 QTEST_QEMU_BINARY="xterm -e gdb --tty $(tty) --args qemu-system-x86_64" ./tests/qtest/blk_test
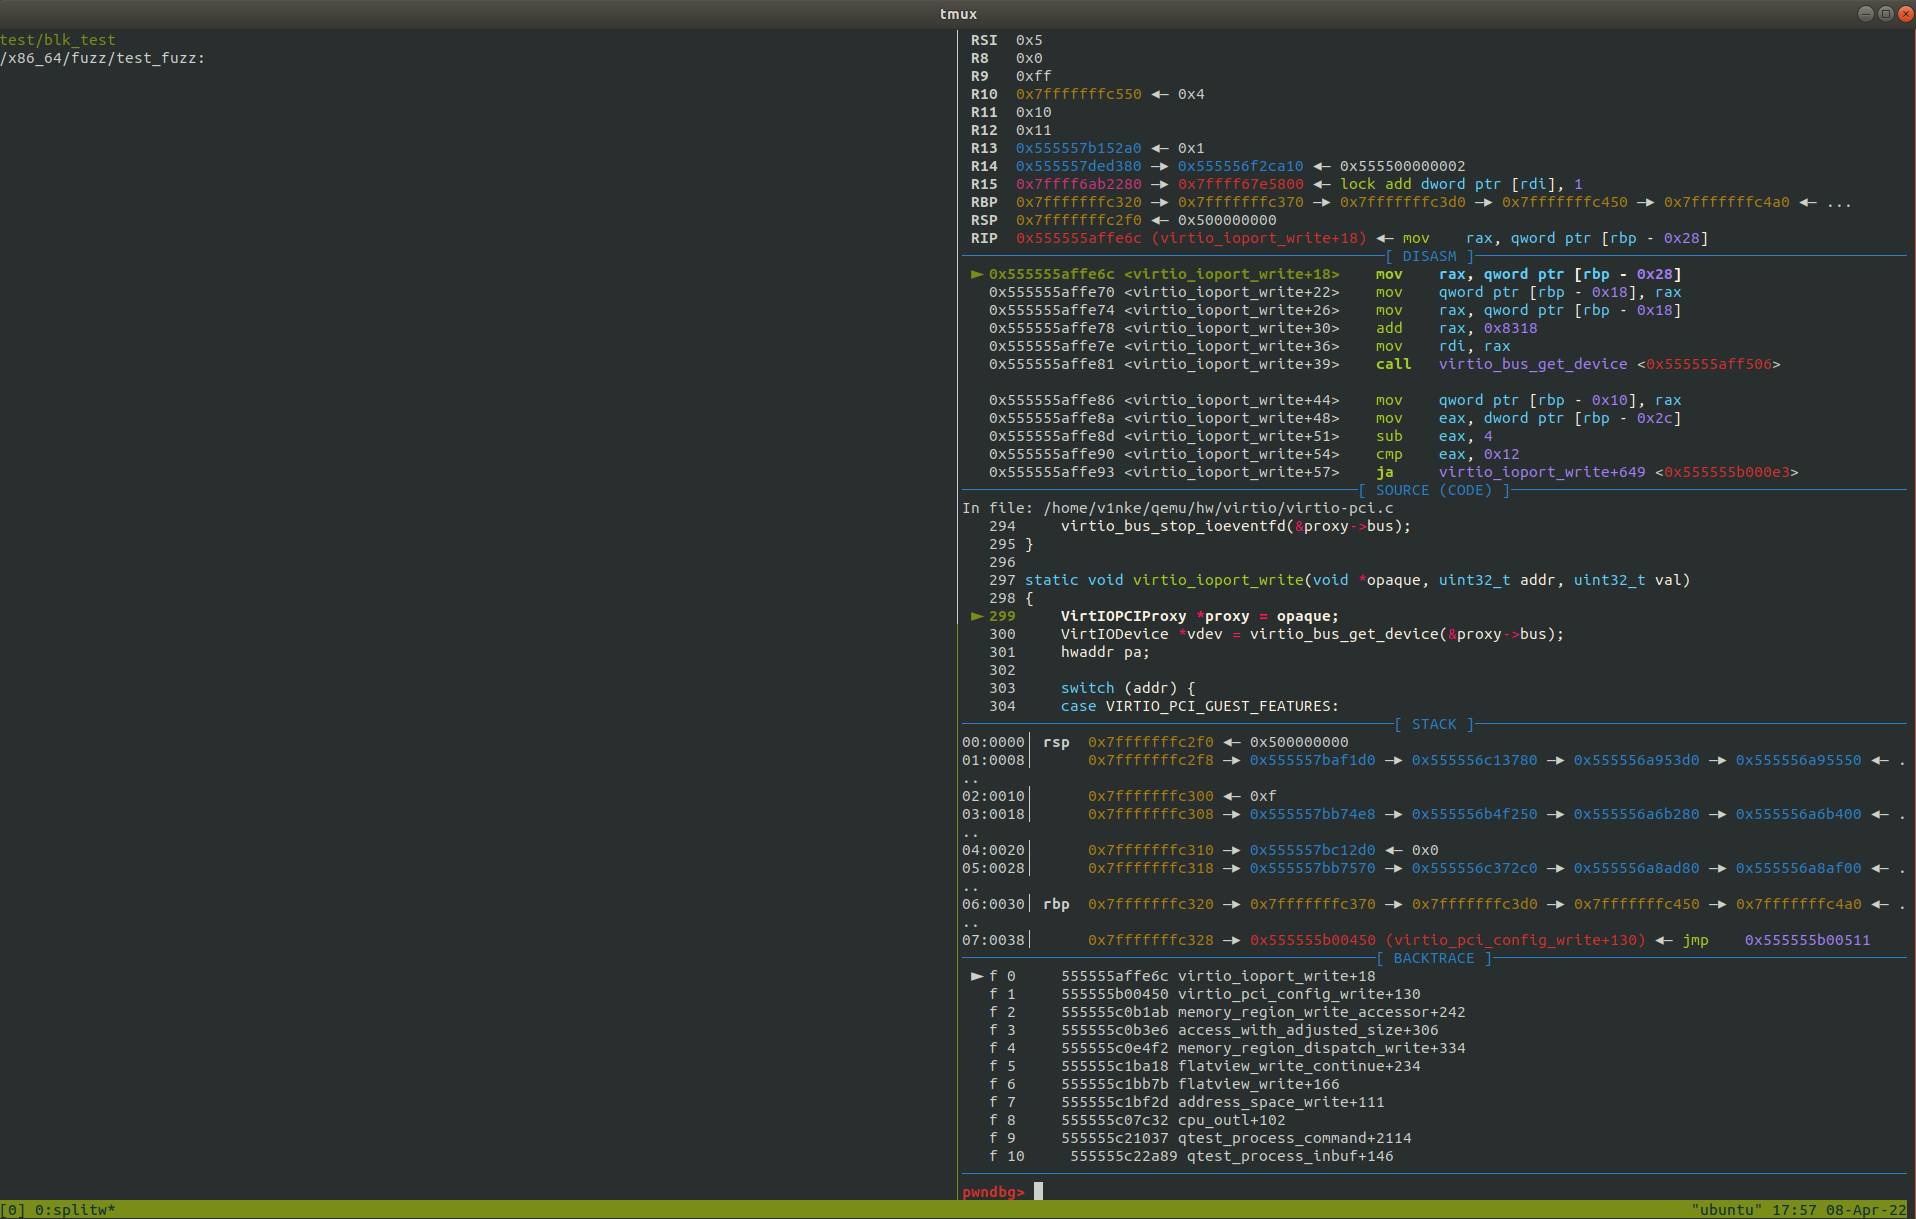
Demo 上个图,爽一爽。
参考
https://futurewei-cloud.github.io/ARM-Datacenter/qemu/debug-qemu-qtests/